
Treadmill Belt Replacement Costs and Step-by-Step Guide
 Fitness
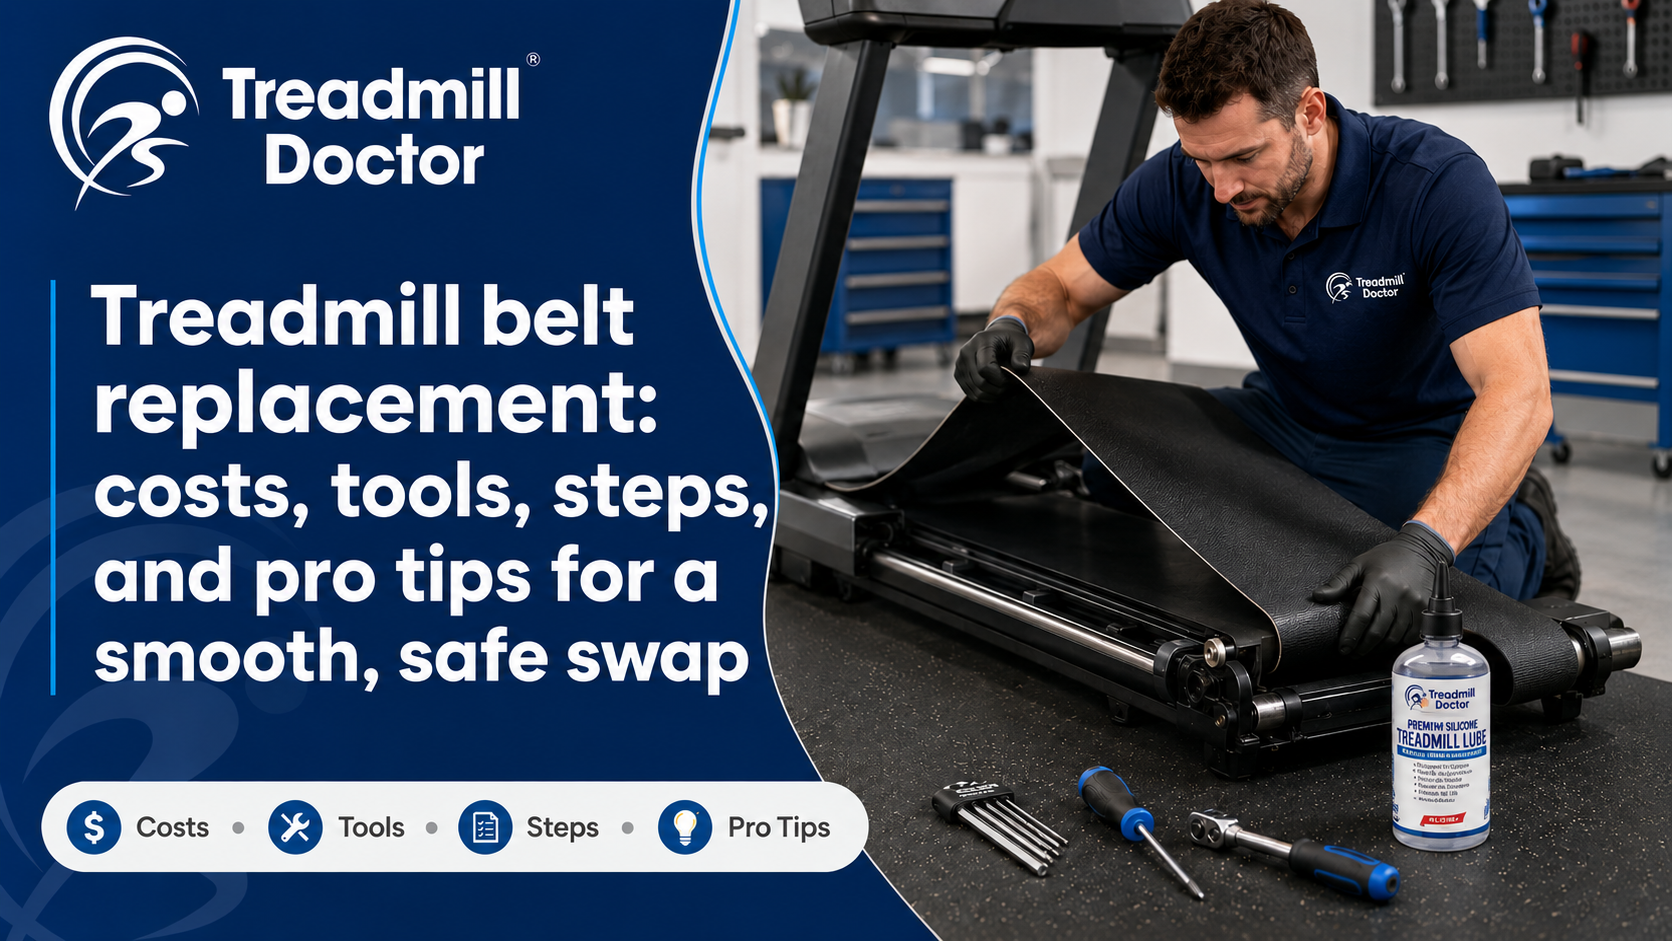
Treadmill belt replacement: costs, tools, steps, and pro tips for a smooth, safe swap
If your treadmill is slipping, surging, or leaving black dust under the deck, your walking belt (and likely the drive belt) is asking for retirement. The good news: replacing belts is one of the highest‑impact repairs you can do at home. With the right parts, a few tools, and some patience, you can make your treadmill feel new again, and protect the drive motor and motor controller from unnecessary strain.
This guide covers symptoms, cost ranges, how to choose the right belt, step‑by‑step replacement, tension and tracking, and post‑install checks so your fix sticks.
Spoiler: replace the walking belt and the drive belt together. They wear as a team and a fresh pair restores balanced performance.
Signs your walking belt needs replacement
Slipping or hesitation when you step down, even after tensioning
Belt edges fraying, glazing, or cracking
Overheating smells or the deck feels hot to the touch
Speed inconsistencies or periodic surging at steady speed
Excessive black belt dust around the front roller and motor compartment
Pro Tip: High amp draw readings compared to spec indicate drag. If you have a DC ammeter, with no one on the belt at 2.5 MPH, readings should be between 2–4 amps. With a 200 lb person walking at 2.5 MPH, readings should be between 5–8 amps.
Typical belt replacement costs
Actual prices depend on model and belt grade, but these ballparks help you plan:
Walking belt: typically 90 to 300 dollars for most residential models. Premium low‑friction belts cost more, run cooler, and often last longer.
Pro Tip: Not all belts are made the same. Cheaper belts tend to be thinner, have a lower‑quality backing, and in some cases lack carbon threads to dissipate static electricity.
Drive belt: typically 20 to 80 dollars. Replace at the same time to avoid repeat labor and restore smooth power transfer.
Pro Tip: Drive belts can vary widely in quality. If you see a normal size for a quality machine (like a 240J8) at $20, it’s likely cheaply built. All Treadmill Doctor drive belts are built by the largest automotive manufacturer of poly‑V belts to the same standard as their automotive belts, so you’re getting the highest quality belt with Treadmill Doctor.
Optional parts while you’re in there: front/rear roller assemblies ($95 to $275 commonly), deck (varies by model), lubrication, and hardware.
Pro Tip: When electronics overheat or trip, don’t forget the root cause. A dry, tight, or dragging walking belt can overload the drive motor and motor controller. Fresh belts and correct lubrication protect both.
Choosing the correct walking belt
Match by exact model and serial. Manufacturers revise frames and roller widths within a series. For example, not all ProForm Pro 2000 machines are the same, verify the full model number and serial tag details.
Select belt grade: standard vs. premium. Premium belts reduce friction, run cooler, and last longer, worth it for frequent users.
Texture and thickness: OEM‑style texture is recommended for familiar footing, but an exact texture match is not strictly required if width/length and quality meet spec. Avoid random “one‑size” belts.
Confirm width and length specs, and check deck condition. Severely grooved, pitted, burned, or swollen decks should be replaced or flipped (if reversible) with the belt.
Pro Tip: Treadmill Doctor lists model compatibility and lead times on product pages. If you’re unsure, ask for a quick confirmation before ordering so the belt fits right the first time.
Tools and prep
Metric and/or SAE hex keys (Allen), sockets, and screwdrivers
Torque wrench (helpful for consistent roller hardware)
Needle‑nose pliers for clips and tie‑wraps
Vacuum and soft brush
Mineral spirits for cleaning old lube/wax from the deck, rollers, and belt guides (if equipped). Only use in a well‑ventilated area and allow surfaces to dry completely before reassembly.
Silicone‑based treadmill lubricant approved for your model (if applicable)
Painter’s tape or a marker for tracking current roller bolt positions
Safety first:
Unplug the unit before removing motor covers (if equipped) and before working around wiring or rollers.
Keep hardware organized; take photos before disassembly.
Don’t install a new belt on a dirty treadmill. Clean the deck, rollers, and guides thoroughly. Mineral spirits help strip old lube/wax so you can accurately assess deck wear.
Pro Tip: Manufacturers commonly caution against using treadmills on GFCI‑protected circuits because startup inrush can trip them. If your unit repeatedly trips a GFCI, test on a non‑GFCI outlet. Verify local code and safety considerations.
Step‑by‑step: replace the walking belt
Power down and open up
Unplug the treadmill. Remove side rails and motor cover (if equipped). Note cable routing near the motor controller and drive motor.
Remove rear end caps for access to the rear roller.
Relieve belt tension
Loosen the two rear roller bolts equally, count turns or mark their starting positions.
Slide the rear roller forward to create slack. Pro Tip: Using a permanent marker, like a Sharpie, mark the position of the front roller adjustment bolt or count the number of treads showing (if equipped). Reinstall the front roller bolt to the exact spot to prevent the new belt from traveling at a diagonal. We also mark the rear roller bolts, but if your old belt stretched, you can over tighten the new belt if you aren't careful.
Remove the drive belt (for paired replacement)
Loosen drive motor mount bolts (if slotted or has an adjustment) to relax drive belt tension.
Slip the drive belt off the motor pulley and front roller pulley.
Extract rollers and old walking belt
Lift the rear roller out first. Slide the walking belt off the deck.
If needed, remove the front roller to fully clear the belt path. Watch sensor wiring and pulley alignment at the front roller.
Inspect and service the deck and rollers
Clean thoroughly. Use mineral spirits in a well‑ventilated area to strip old lube/wax from the deck surface, rollers, and belt guides (if equipped). Allow to dry before assembly.
Check the deck for grooves, burn marks, swelling, pitting, or delamination. Flip if it’s reversible and the underside is clean; replace if damaged.
Spin rollers by hand; they should rotate smoothly without grinding. Replace worn rollers or bearings.
Vacuum dust from the deck, frame, drive motor, motor controller, and under the unit. Dirt accumulation is the number one enemy of proper functioning and can accelerate wear on belts, bearings, and controllers.
Install the new walking belt
Slide the new belt over the deck. Treadmill Doctor belts are non‑directional, so orientation doesn’t matter. Some cheaper belts are directional and must be installed to match travel direction, get this wrong and you can ruin the new belt quickly. Only buy a non‑directional belt.
Reinstall the front roller (if removed) and seat the belt evenly across the deck.
Reinstall the rear roller through the belt loop.
Install the new drive belt
Place the drive belt around the front roller pulley first, then around the drive motor pulley. Align ribs with grooves.
Set light tension for now; final tension comes after tracking.
Set initial walking belt tension
Evenly tighten the rear roller bolts to remove slack. Center the belt by eye.
Do not overtighten. You’ll fine‑tune under power.
Align and track the walking belt
Plug in. Insert the safety key. Stand off the deck.
Start at 1–2 mph. Use small, equal quarter‑turn adjustments on the rear roller bolts:
If the belt drifts right, turn the right bolt clockwise 1/4 turn or the left bolt counter‑clockwise 1/4 turn.
If the belt drifts left, do the opposite.
Let the belt run 1–2 minutes after each adjustment. Aim for steady center tracking in the center of the walking or running area.
Final tension checks
With the belt stopped and unplugged, lift the walking belt at the deck center. Typical lift is about 2–3 inches, but follow your model’s spec.
Re‑power and walk at 2–3 mph. If you feel slip under footfall, add a small, equal turn to both rear bolts. Recheck tracking after any change.
Pro Tip: Make only small, equal adjustments and allow the belt to settle. Overtightening creates heat, glazing, and premature wear.
Lubrication (if applicable)
Unplug the unit. Lift the side of the walking belt and apply manufacturer‑approved lubricant between the belt and deck along both sides.
Re‑power and walk the belt at 1–2 mph for 3–5 minutes to distribute evenly. Wipe any excess.
Note: Some belts are pre‑lubricated or require specific products. Follow your model guidance.
Drive belt tension and alignment
With the treadmill at 2–3 mph under a light load, listen for chirps or slip from the front pulley area.
If slipping, slightly increase drive motor mount tension (if slotted or has an adjustment) and re‑test.
Ensure the motor pulley and front roller pulley are in line. Misalignment sheds black dust and chews belts.
Post‑replacement checks and protections
Verify console readouts and speed feel consistent. Consoles display speed, distance, time, incline, and send control signals to the motor controller on treadmills; a dragging belt can make the controller and drive motor run hot.
Feel for excess heat at the deck after 10–15 minutes. Heat suggests over‑tight tension or dry lubrication.
Recheck walking belt tracking after the first 5–10 miles; belts settle.
Clean the entire area. Keep under‑deck and motor spaces free of dust to protect the drive motor and motor controller.
Pro Tip: Fuses can be fast‑blow or slow‑blow (time‑delay). Replace with the exact same type and rating on inline, board‑mounted, or motor controller fuses. If unsure, Treadmill Doctor can confirm the correct fuse.
Troubleshooting after a new belt
Slipping persists under load: walking belt still loose, drive belt too loose, or deck worn. Re‑tension and re‑lube; inspect deck.
Belt tracks then drifts: rear roller bolts uneven, debris on roller, or frame not level. Clean rollers and level the unit.
Overheating/shutdowns: too‑tight belt, poor lubrication, or vent blockage. Loosen slightly, lube, and clean.
Sudden speed spikes on startup: if the motor controller outputs immediate high DC on power‑up instead of ramping with command, the output circuit may be shorted, replace the controller. Always evaluate the drive motor and motor controller together when diagnosing electronics. Pro Tip: With an AC/DC ammeter, test the power supply from the wall outlet to confirm at least 120 VAC supply from the circuit.
Safety for live tests: secure the unit, keep the deck clear, have the safety key and stop method in reach, use insulated probes, and clip your multimeter ground lead first. Never bypass safeties or jump unknown terminals.
When to pair additional parts
Walking belt + drive belt: always recommended.
Deck: replace or flip (if reversible) when worn or grooved to protect the new belt.
Rollers/bearings: replace if rough, noisy, or pitted. Healthy rollers reduce heat and load on the drive motor and motor controller.
How long should a new belt last?
Typical life expectancy depends on use, environment, and care:
Treadmills
Bargain or walking‑pad models: about 1 year or less
Cheap or entry‑level residential units: about 3–5 years
Quality, responsibly built residential units with proper maintenance: about 7–15 years
High‑end or commercial‑grade units with proper maintenance: about 7–15 years
Keep belts clean and correctly tensioned, and clean under the unit regularly. Dirt accumulation is the number one enemy of proper functioning and can accelerate wear on belts, bearings, controllers, and motors.
FAQs: quick answers
How much does it cost to replace a treadmill belt? Walking belts typically run 90 to 300 dollars. Add 20 to 80 dollars for the drive belt. Premium, low‑friction belts cost more but run cooler and last longer.
Do I need to replace the drive belt too? Yes, replace the walking belt and drive belt together. It prevents repeat labor and restores smooth power transfer.
What lubricant should I use? Use the lubricant specified by your model, usually silicone‑based for modern decks. Some belts are pre‑lubed; check your manual or product page.
My treadmill trips a breaker or GFCI after the swap, why? Startup inrush can trip a GFCI. Manufacturers generally caution against GFCI use with treadmills. Try a non‑GFCI outlet and confirm local code and safety. Also verify belt tension and lubrication; an over‑tight belt can spike current draw on the drive motor and motor controller.
Can I run tests on the drive system if I suspect an electrical issue? Yes. With a multimeter, check that the motor controller sends a low DC that ramps up with commanded speed. An immediate high DC at power‑up indicates a likely shorted controller. You can also bench‑test the drive motor by briefly connecting its leads to a low‑voltage DC source (e.g., a cordless drill battery): black to negative, red to positive. Expect a slow, smooth spin; reversing polarity reverses spin. Unplug the unit before removing motor leads (if equipped).
Ready to order? Here’s your efficient parts list
Walking belt for your exact model and serial
Drive belt that matches your front roller and motor pulleys
Deck (if worn or not reversible)
Lubricant approved for your unit
Optional: rollers/bearings if rough, hardware as needed
Your next step
Confirm your model and serial, then order precision‑fit belts so your treadmill runs cool and quiet. Treadmill Doctor lists compatibility and lead times to keep your project on schedule.
Helpful resources:
Find the right walking belt for your model: https://www.treadmilldoctor.com/parts/treadmill/walking-belts
Explore treadmill parts by category, belts, rollers, control boards, and motors: https://www.treadmilldoctor.com/parts/treadmill
Get free diagnostic help to confirm parts before you buy: https://www.treadmilldoctor.com/repair-help
Troubleshoot no‑power issues step‑by‑step: https://www.treadmilldoctor.com/blog/troubleshooting-treadmill-that-not-turn-on
Pro Tip: When ordering electronics along with belts, verify connector styles and part numbers. Manufacturers sometimes revise boards within the same model family. Treadmill Doctor can cross‑check your model and serial so you get the right fit the first time.