
Elliptical Resistance Not Changing? Diagnose Actuator and Control
 Fitness
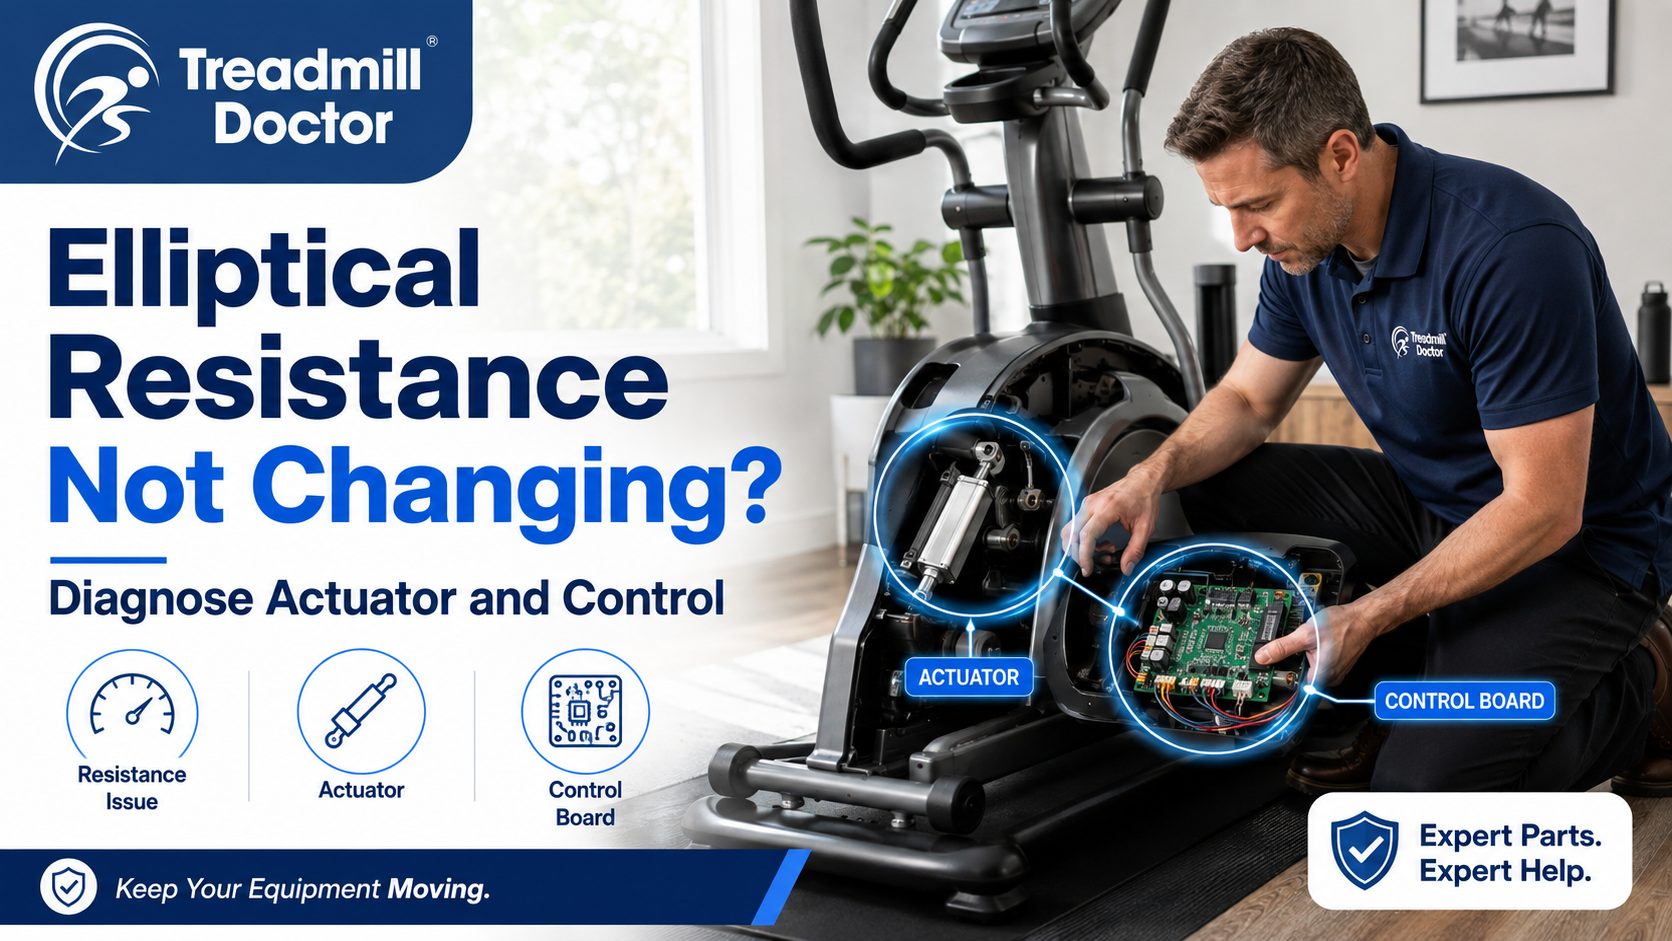
Elliptical resistance not changing? How to test the actuator, magnet stack, and controller
If your elliptical suddenly feels stuck on easy or it jumps between levels, you are not imagining it. Resistance issues usually trace back to one of three spots: the actuator or resistance motor, the magnet stack or belt it moves, or the controller and console path that tells it what to do.
This guide gives you a complete, methodical fix path. You will learn how the system works, how to read the symptoms, and the exact tests to separate a controller fault from a physical jam. Keep a multimeter handy, and always unplug before you open covers.
How elliptical resistance works
Most ellipticals use one of two methods:
Magnetic resistance: the machine changes the distance between a magnet stack and the flywheel to increase or decrease load.
Actuator or resistance motor movement: a small motor or linear actuator moves a resistance belt or the magnet stack (if equipped). The console sends commands to the control board, and the board drives the actuator or resistance motor.
If resistance does not change, either the actuator or magnet stack is not moving, or the controller is not telling it to move.
Symptom map: what your machine is telling you
Match what you see and hear:
No change at any level: likely no actuator movement or no control signal. Could be wiring, controller, console command path, or a seized mechanism.
Jumps between levels or hunts: intermittent wiring connection, dirty potentiometer or position sensor on the actuator (if equipped), or a failing control board output.
Error codes: often indicate lost position, actuator stall, or controller fault. Clear debris, re-seat connectors, then run any calibration mode (if applicable).
Grinding, clicking, or squeal: worn idler or glide wheels, glazed or cracked drive/resistance belts, or a binding magnet stack or actuator track.
Step-by-step diagnostic path
Work in order. Unplug the unit before opening covers. For live tests, secure the machine, keep hands clear, and use insulated probes.
Verify power basics
Confirm outlet and cord integrity. If the console boots intermittently, inspect fuses, reset switches, and connectors.
Pro Tip: Fuses can be fast-blow or slow-blow. Replace with the exact same type and rating. If unsure, ask Treadmill Doctor.
Inspect harnesses and connectors
Reseat the wiring harness at the console, controller, and actuator or resistance motor. Look for bent pins, corrosion, pinched or abraded cable jackets.
Command a resistance change and observe
With power on, set resistance from low to high while looking and listening under the shrouds. Good systems show the actuator lead screw turning or the magnet stack moving, often with a soft whir. No motion suggests a controller output, wiring, or actuator issue.
Measure actuator or resistance motor voltage under command
Set your multimeter to DC volts. Back-probe the actuator leads at the controller or at the actuator connector.
Command low to high. On these tests, you should typically see 9-12VDC at the actuator or resistance motor when the controller is driving it. On many machines you may see that voltage appear briefly, change polarity for direction, or settle once the target position is reached.
If you consistently read zero volts when commanding changes, suspect a controller or command-path fault. If you see 9-12VDC present but the actuator does not move, suspect a jammed or failed actuator.
If voltage spikes high immediately on power-up without a command, that can indicate a shorted controller output.
Separate controller vs actuator using a quick motor check
Unplug the unit. Disconnect the actuator or resistance motor leads. Briefly apply a known low-voltage DC source, such as a cordless drill battery, red to positive and black to negative. A healthy actuator or small DC motor should move slowly and smoothly; reversing polarity should reverse movement.
No movement or rough, jerky motion points to a failed actuator or internal bind. Smooth motion points back to controller output, harness, or the console command path.
Safety note: Keep the voltage low, keep fingers clear, and reconnect leads only with power unplugged.
Inspect the mechanicals that can masquerade as resistance faults
Check idler and glide wheels for flat spots or rough bearings. Spin by hand; they should roll quietly.
Inspect the drive and resistance belts for glazing, cracks, fraying, or slack. Fine black dust is a classic glazing sign.
Confirm pedal straps and toe clips are secure and not rubbing.
Wipe the guide rails and rollers. Clean dust out from inside covers and from around the controller and motor area. Dirt accumulation is the number one enemy of proper functioning.
Calibration and console checks (if applicable)
Some models require a resistance or position calibration after power events or part replacement. Run calibration per the service manual. If the console never sends a change command, the controller cannot act. Update firmware only if the manufacturer specifies.
Interpreting your test results
Voltage present in the 9-12VDC range but no movement: actuator jam or failed actuator. Replace the actuator; confirm smooth travel by hand before final assembly.
No voltage output but console clearly commands changes: suspect the controller. Verify harness continuity and then replace the control board.
Intermittent voltage and jumpy levels: inspect the actuator position sensor or potentiometer (if equipped), harness continuity, and the controller.
Loud grinding with movement: mechanical bind at the magnet stack track or worn wheels. Clean and replace worn wheels or bearings.
Parts ordering checklist
Have this ready to avoid delays:
Exact model and serial number from the data tag
Resistance actuator or driver motor
Controller or control board
Drive and resistance belts
Idler or glide wheels and related bearings
Wiring harness or specific connectors
You can browse precision-fit elliptical parts and model-specific guidance in the Treadmill Doctor catalog. When you are ready to buy elliptical parts, include your model and serial so fitment is exact.
Pro Tips for smoother fixes
When belts show glazing or cracks, replace sooner rather than later to reduce load on the controller and motor.
If you cannot isolate a noisy bearing, use an engine stethoscope or the screwdriver trick. Unplug the unit, rotate components by hand, and listen at each bearing housing.
Quick answers to common questions
Elliptical repair: The usual culprits are the resistance actuator or motor, the controller, harness connections, and worn drive or resistance belts. Clean thoroughly first, then test voltage under command to separate electronics from mechanical binds.
Helpful resources
Use your model and serial number to match the correct parts before ordering. That helps you avoid returns, delays, and the classic "almost fits" headache.
Summary
Resistance that will not change is solvable. Clean first, then follow the signal path: console to controller to actuator and magnet stack. Measure voltage under command, confirm you are seeing the expected 9-12VDC drive signal, and bench-check the actuator with a safe low-voltage test to confirm the bad actor. When it is time to order, have your model and serial ready so you get parts that fit and get back to quiet, consistent workouts.